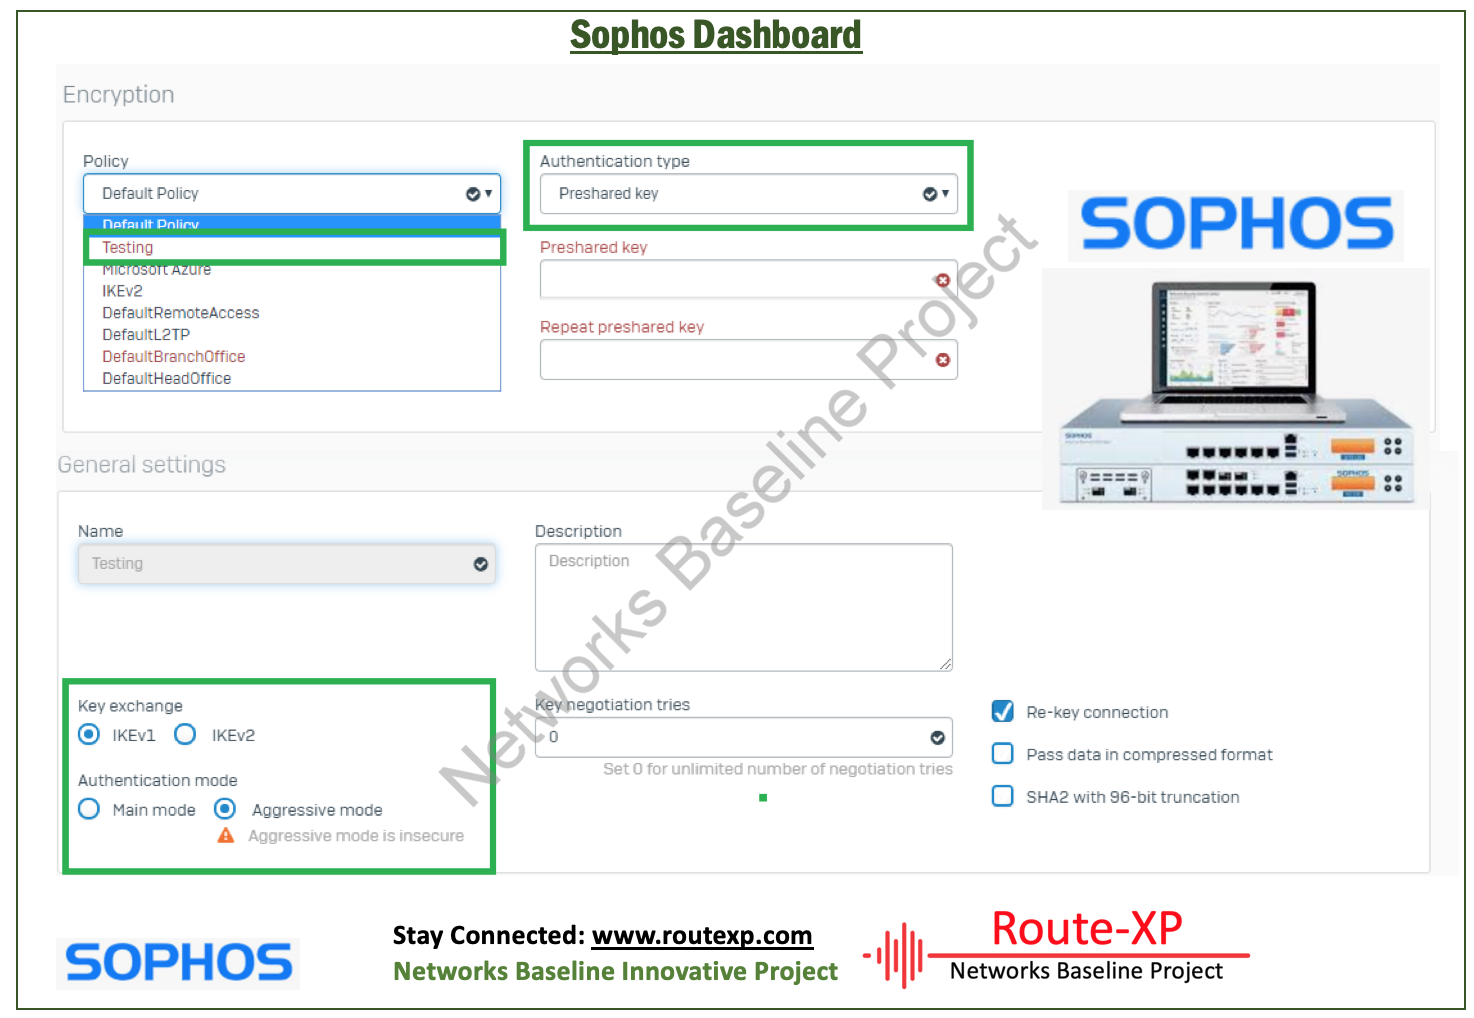
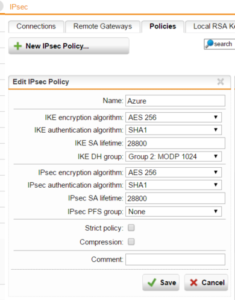
Microsoft Azure's dynamic routing gateway requires IKEv2, something Sophos UTM doesn't support, yet. This is a workaround that uses Ubuntu Server and strongSwan to create the VPN and a static route on the UTM to send specific traffic through the VPN on the Ubuntu Server.
Because IKEv1 is not compatible with IKEv2, maybe you have a choice which protocol you will use. Sophos UTM Community Moderator Sophos Certified. I just got the following answer from Sophos Support: UTM9/SG doesn’t support IKEv2 and will not be supporting it anytime soon. We don’t even have a target date for when it will be supported on UTM9/SG. In short it definitely won’t be supported it by the time you’re looking to carry out your project in the coming months.
Installation Instructions
This assumes you have some technical knowledge and are a Sophos UTM user looking for a way to connect multiple locations to your Azure environment.
These instructions start with an Azure environment already configured with a dynamic routing gateway and existing installations of Sophos UTM 9.312-8 and Ubuntu Server 14.04.2 LTS. For testing purposes, the Sophos UTM and Ubuntu Server installations were clean. The Ubuntu Server should have one network connection and internet access. In this case, the DHCP server on the UTM originally provided the Ubuntu Server with an IP address and the UTM is the gateway and DNS server.
The latest .ISO files can be found on the Sophos web site and Ubuntu web site .
The IP addresses and networks shown in these instructions were used for testing purposes and are no longer valid. They include 10.1.10.163 as the external IP address (provided by your internet service provider), 192.168.163.1 and 192.168.163.0/24 as the IP address and subnet used by the UTM for the internal network, 192.168.163.91 as the IP address of the Ubuntu Server, 192.168.168.0/27 as the subnet on the virtual network in the Azure environment, and 138.91.249.225 as the gateway IP address provided by Azure after creating the dynamic routing gateway. Use the addresses and subnets from your network and Azure environment for everything to work properly for you.
After logging in, depending on the version of Ubuntu Server, you may see some useful information, including the IP address. Make note of the address. If it's not displayed, you can use the ifconfig command to look it up.
Use the apt-get update command to download the latest package lists from the repositories. Almost all of the commands in these instructions will require sudo to elevate your privileges. On the Ubuntu Server, the first time you use sudo after logging in or after a period of idle time, you'll be asked for your password again.
If you would like to use ssh to connect to your Ubuntu Server, install OpenSSH server using the apt-get install openssh-server command.
In WebAdmin on your UTM, find the IP address assigned to the Ubuntu Server and add a static mapping to give it an IP address that won't change. Then, restart your Ubuntu Server to get the new IP address.
Ikev2 Sophos Utm Client
Use nano (sudo nano /etc/network/interfaces) or your favorite text editor to add the following line to the file /etc/network/interfaces after the settings for the primary network interface:
The file referred to by this line will be created later.
Uncomment the line net.ipv4.ip_forward=1 in the file /etc/sysctl.conf. (Remove the # from the beginning of the line.)
Change the 0 to a 1 in the file /proc/sys/net/ipv4/ip_forward.
Create the file /etc/iptables.rules and add the following lines:

Remember to replace the subnet shown, 192.168.168.0/27, with the subnet you want to connect to in your Azure environment.

These rules assume the Ubuntu Server is on a safe network. If you need to protect your Ubuntu Server from possible threats on your local area network or if the Ubuntu Server is not protected by the UTM, you should change them to block unwanted traffic.
Install strongSwan using the apt-get install strongswan command.
Add your external IP address and the gateway IP address and preshared key provided by Azure to the file /etc/ipsec.secrets.
Add the following lines to the end of the file /etc/ipsec.conf:
Leftid is your external IP address and needs to match the external IP address in the file /etc/ipsec.secrets while left is the Ubuntu Server's IP address on your internal network. Rightid and right are both the gateway IP address provided by Azure and rightsubnet is the subnet used by your servers in the Azure environment. These addresses and subnets need to be the correct addresses and subnets from your network and Azure environment for authentication to be successful.
In WebAdmin, add a static route (Interfaces & Routing, Static Routing, Standard Static Routes tab) to forward traffic to and from servers in your Azure environment through the VPN on the Ubuntu Server. While adding the static route, you'll need to add a network definition for the subnet used by the servers in your Azure environment. If you used the DHCP server on the UTM to add a static mapping for the Ubuntu Server, its definition already exists.
Add a NAT rule (Network Protection, NAT, NAT tab) to forward traffic from Azure's gateway IP address, changing its destination from your public IP address to your Ubuntu Server's IP address. Make sure you turn on an automatic firewall rule or manually create a firewall rule (Network Protection, Firewall, Rules tab). Also, make sure your firewall allows VPN-related traffic from your Ubuntu Server to Azure's gateway IP address if it doesn't already. While adding the NAT rule, you'll need to add a network definition for the gateway IP address provided by Azure.
Use the ipsec secrets command to reload the information from the file /etc/ipsec.secrets. Then, use the ipsec restart command to stop the IKE daemon charon, parse the file /etc/ipsec.conf, and start charon again. The ipsec statusall command will show the status of the VPN.
If you want to get the status of multiple VPNs from Azure, use the Get-AzureVnetConnection command in the Azure PowerShell. (The VNetName would be the name of your virtual network in Azure.)

To test your connection to your Azure environment, ping a linux server in the environment from a computer on your internal network (Windows Server may not respond to ping) or try to Remote Desktop to a Windows Server.
These instructions were written by tech Scott Gumble in hopes that it will help some Sophos UTM users and Sophos partners who need a way to connect one or more UTMs to Azure's dynamic routing gateway.
This article explains how to configure IPSec VPN Site to Site between Sophos XG firewall and Pfsense firewall devices

This aritcle configured according to the following diagram:
How to configure
Configure on Sophos XG
Step 1: Create Local and Remote network area for XG device
- Log in to Sophos XG by Admin account
- Hosts and Services -> IP Host -> Click Add
- Create Local Network
- Enter name
- Choose IPv4
- Choose Network
- In IP address -> Import Internal network
-> Click Save
- Create Remote Network
- Enter name
- Choose IPv4
- Choose Network
- In IP address -> Import Remote network
-> Click Save
Step 2: Create IPSec connection on Sophos XG
- VPN -> IPSec connections -> Click Wizard
- Enter name
- Click Start
- Choose Site To Site
- Choose IKEv2
- Click >
- Choose Preshared key
- Enter Preshared key (using for both site)
- Click >
- Choose WAN port of Sophos XG
- Choose Local Network which is created before
- Click >
- Enter IP WAN of Pfsense
- Choose Remote Network which is created before
- Click >
- Choose Disabled
- Click >
- Click Finish
Ikev2 Sophos Utm Download
- Click Active
Configure on Pfsense firewall
Step 3: Create IPSec connection on Pfsense (P1)
- Log in to Pfsense firewall by Admin account
- VPN -> IPSec -> Click Add P1
- In Key Exchange version: Choose IKEv2 (same with Sophos)
- In Internet Protocol: Choose IPv4
- In Interface: Choose WAN
- In Remote Gateway: Enter IP WAN of Sophos
- In Authentication Method: Choose Mutual PSK
- In Pre-Shared Key: Enter Preshared Key which the same with Sophos
- In Encryption Algorithm: Choose AES -> 256 bits -> SHA256 -> 14 (2048 bit)
- In Lifetime (Seconds): Enter 3600
-> Click Save
Step 4: Create IPSec connection (P2)
- In Local Network: Choose Lan subnet
- In Remote Network: Enter Local network of Sophos
- In Protocol: Choose ESP
- In Encryption Algorithms: Choose AES -> 256 bits (same with Sophos)
- In Hash Algorithms: Choose SHA256
-> Click Save
Step 5: Create Firewall rule in Sophos to allow VPN and LAN network connect together
Step 6: Click Connection to finish
Configure create Firewall rule for Pfsense to finish
** If you have difficulty configure Sophos products in VietNam, please contact us:
Sophos Utm Ikev2 2019
Hotline: 02862711677
Email: info@thegioifirewall.com
Ikev2 Sophos Utm Software
YOU MAY ALSO INTEREST
